Farmhouse Style Bathroom Make-Over

 
Finally the first room in our house is complete. I am notorious for biting off more than I can chew and I love starting projects, but struggle to complete them (which is why there are three half-way done rooms in my house at this moment).  So I am proud of myself for finishing this one! GO MEEEEEE.

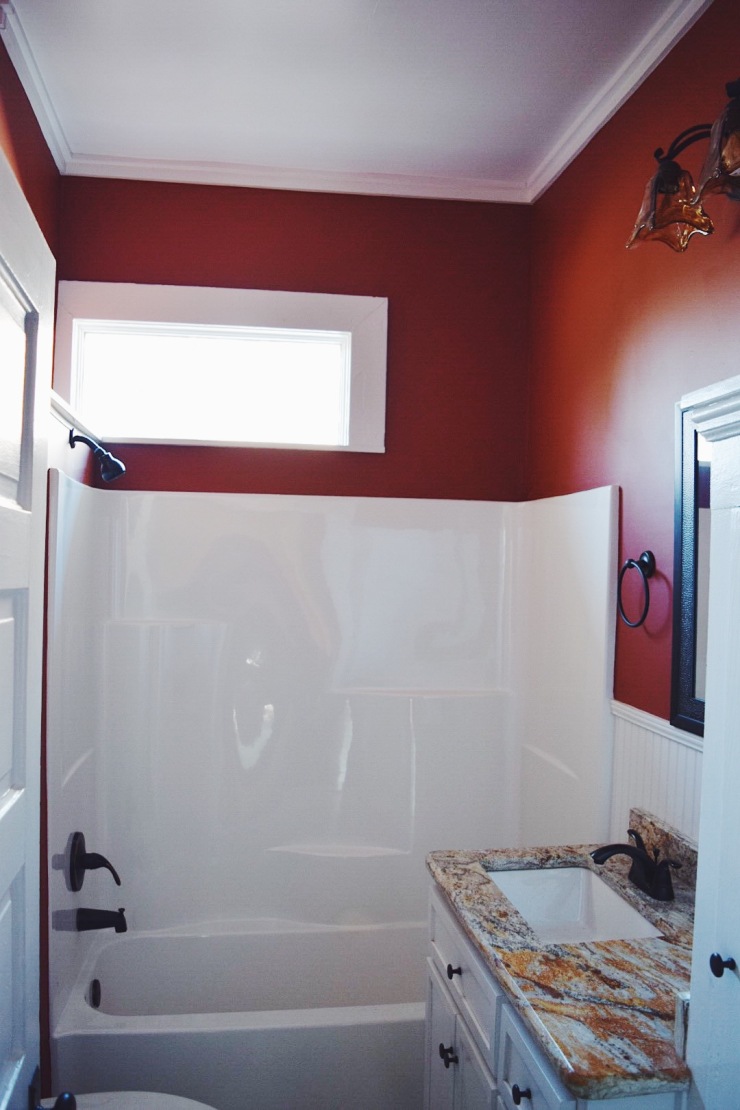
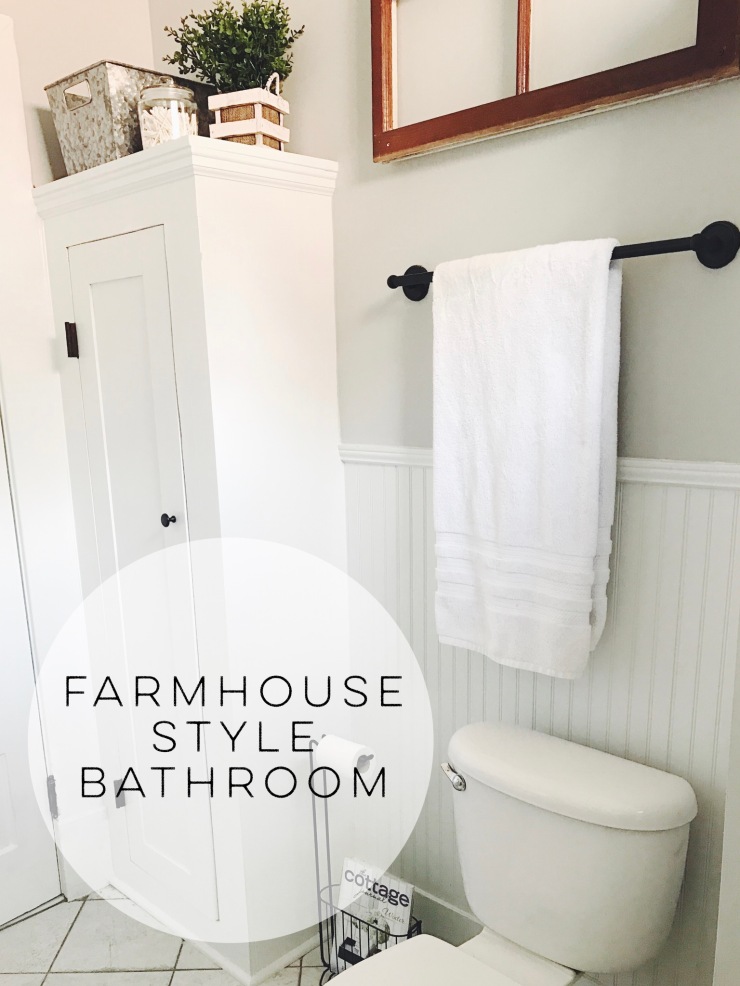
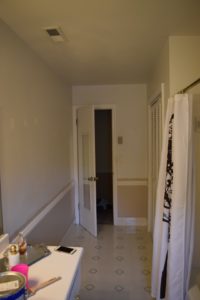
Our master/guest bathroom was a dark burgundy color when we moved in, but as soon as I saw the original beadboard and white cabinets, I knew this bathroom was going to be ADORABLE.

Now I don’t hate burgundy, but it is just not my style. I love all things bright and cheerful (much to my dark-color loving-husband’s dismay. ha). So the red had to go!

I first bought what I thought was a nice grey color, but as soon as I started to paint it on the wall, it was a brown color and I freaked out and texted my sister who then recommended Repose Gray by Sherwin-Williams. AND I LOVED IT.

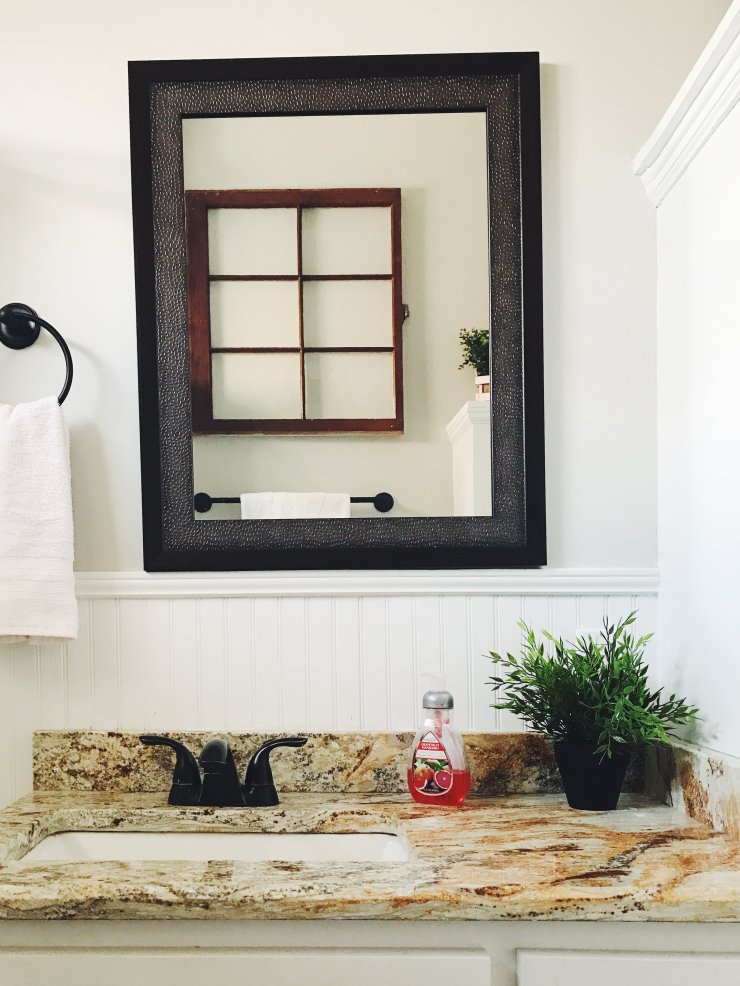
I was amazed at how much just a change in paint color brightened up the room. I didn’t even realize it was that dark in there because we have a window up above our shower that lets light in. But Chris and I couldn’t get over how different the room looked because of the grey.

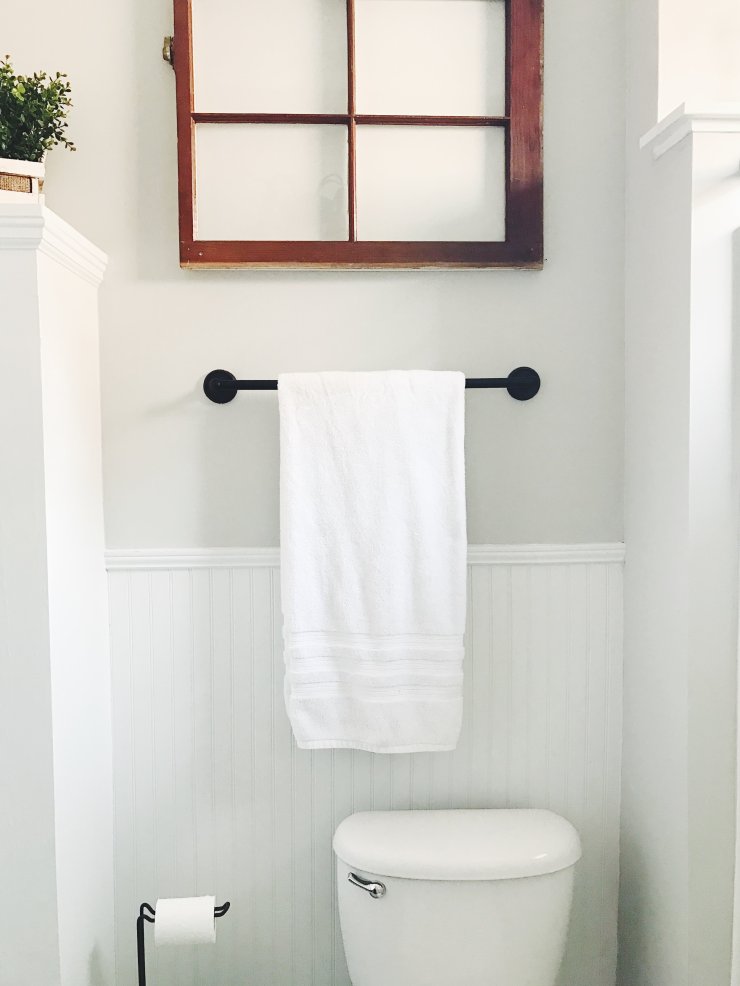
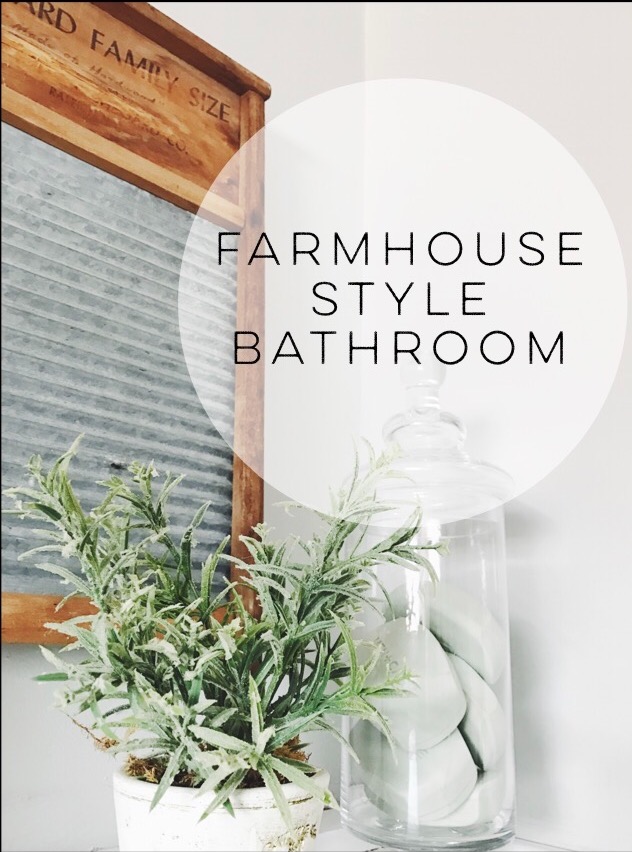
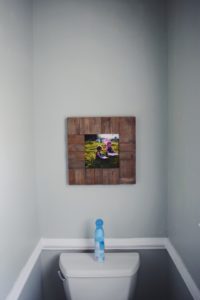
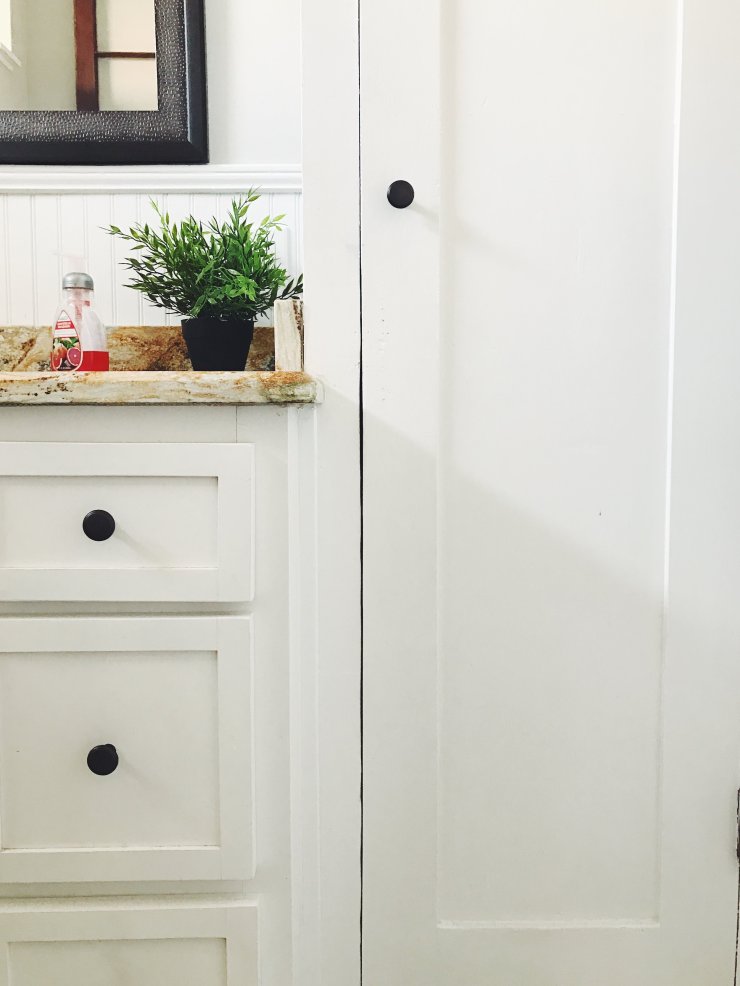
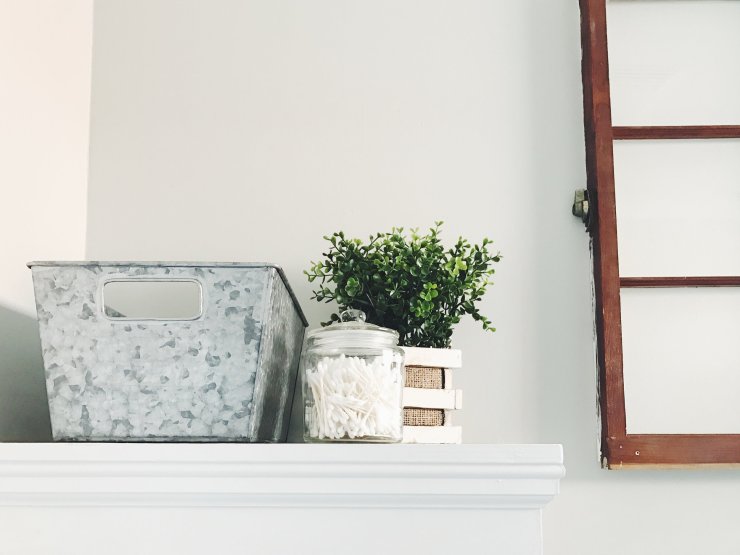
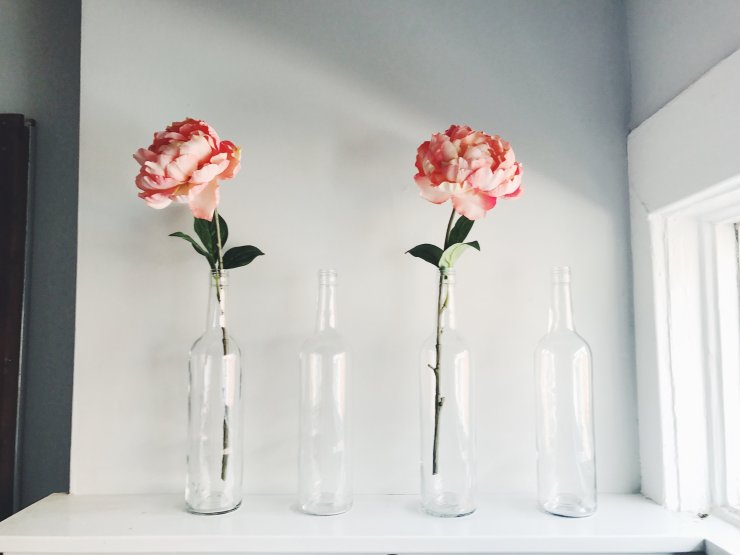
I added a few touches of “farmhouse style” to the cabinets and added an old window above the toilet. If you are wanting to add that farmhouse feel to any space, go for wooden tones, grey metal tones, and lots of white. Add greenery to make it not seem so “sterile.”

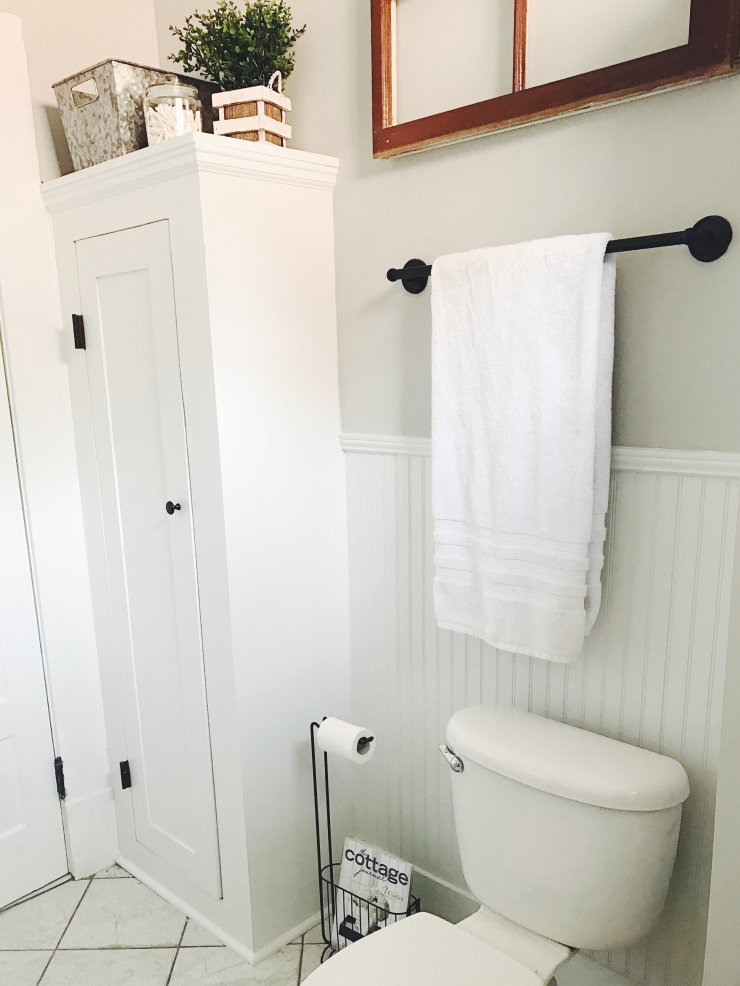
I am so so happy with our little bathroom! It’s super small (as in, when you sit on the toilet your knees hit the cabinet in front of you, small) so it was a little hard to get pictures of, but now it’s a cheerful little space that makes me happy!

_______________________________

Bathroom Remodel: Before and After Pictures

This past week I felt motivated to finally do something with one of our upstairs bathrooms. We use it for the boys and for guests and it had become a disgusting mess of junk and clutter. It was driving me crazy just to walk past it!

This was the bathroom when we bought the house. I had taken down the wallpaper border about a year ago, but hadn’t had time or energy to paint it.

TA-DA! It feel sooooo much cleaner and this re-do only cost us about $80 total, since we already had the paint leftover from our guest room.

My cute little helper who woke up while I was painting. She loved screaming and hearing her voice echo in the empty bathroom…which then woke her brothers up. (ha)

I feel like the paint color really brightened the room up and even makes the outdated linoleum more bearable! I used Olympic Misty Blue as the wall color.

This wooden frame used to be a mirror, but the glass part had gotten broken in one of our many moves, so I decided to convert it to a picture frame. I just cut down that print of the boys to size and taped it in there.

Oh my goodness I hate brass. This fixture was driving me crazy, so I used some Rust-Oleum high-performance enamel spray paint in Matte Black to show it some love. Side note: I don’t recommend using spray paint inside…it is very messy and you will feel high (I’m not speaking from experience of course….).

I love the way it turned out! It looks so much better and goes with the overall look of the room.

Chris built these amazing shelves for me and I bought the brackets at Lowe’s. A quick coat of stain and they were ready to go! I may or may not have made Chris hang them for me when the stain wasn’t completely dry and our hands were all sticky and covered in stain. OOPS. I was just too excited to get them hung!

And that’s it! This was so fun and very cheap, and I feel like it made a HUGE difference in this bathroom. I now enjoy walking in here. The first time the boys took a bath in here, Rhett stood up and said “LOOK AT ALL THE THINGS!!” I think that’s his way of saying he approves. (ha)