Farmhouse Foyer Update

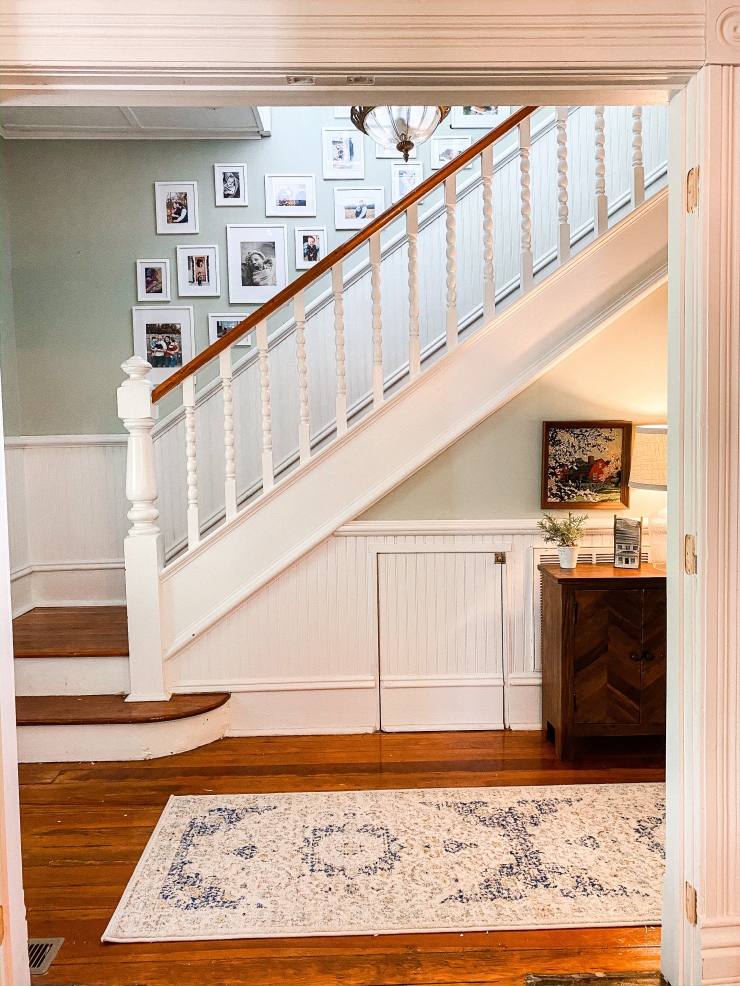
The foyer is one of my favorite spots in our new house. The staircase and the original flooring and beadboard has so much charm.

The stained glass in the front door is so unique and I love that this is the first room to welcome guests when they visit us.

The wallpaper that was in there when we purchased the house had been installed by the previous owner. She chose it to bring out the colors in the door. I didn’t dislike the wallpaper pattern, but I didn’t feel like it was a little too busy and some of the historic details got lost in all of it.

I wanted to save some of the wallpaper since she chose it with such care and use it as some artwork in the foyer in a nod to Miss Patti and Mr Bob who had saved the house 10 years previous. I am so appreciative that they took on a massive project and brought this beautiful house back to life!

I chose the color Contented by Sherwin Williams. I feel like it brightens the space but also has enough color to bring out the woodwork and trim.

I have an antique schoolhouse light on its way to replace the light hanging there now and I am so excited! I love a good vintage light. 😉

I’m very happy with how this space turned out! It makes me smile every time I walk through it. Still can’t believe this is our home!

If you missed my home tour, check it out here.

Farmhouse Dining Room

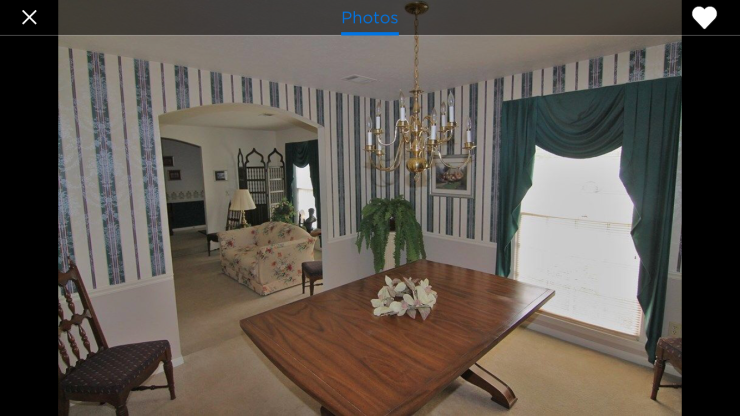
If there is a room in our house that brings me unspeakable joy, it is most definitely our dining room. The natural light that floods through the window, the beadboard that adds charm, my new black farmhouse chairs…it all puts a big ole smile on my face. I think I appreciate it so much because of what it used to look like…scroll down if you dare. haha

 I tried to warn you! This room was a blast from the past to put it lightly. And that wallpaper was a NIGHTMARE to remove. I tried all of the go-to remedies: vinegar, fabric softener, Parana spray from Lowe’s.  

What finally did the trick was this steamer I got for $40 from Lowe’s. I got the top layer off in about an hour and a half and then Carley and I worked on the layer of glue for two nights. That was the worst part for sure. haha But we finally got it done and that’s all that matters! Buh bye 1970’s! 

Chris and I then spent the entire weekend…and I do mean the ENTIRE weekend hanging the beadboard and trim. Getting the perfect cut on the sheets of beadboard was no easy feat. We definitely got a good workout in! ha 

Once it was all hung, we stepped back and knew this was exactly what we had been dreaming about. This once awful room was now starting to feel brighter and more welcoming. 

I painted above the beadboard my go-to color of course: Repose Grey by Sherwin Williams. So far out of the 5 rooms we’ve repainted in this house all 5 of them have been Repose Grey. At least we are consistent right? 😉

I’ve been dreaming of farmhouse chairs to go with our table for years now. And one of my friends on instagram posted about Wayfair having a sale on some chairs and I instantly had to go look.

I showed them to Chris and he was on board and I’ve never been so excited for 3 huge boxes to be delivered to my door before! It’s usually diapers so this was a pleasant change. 😉

I am in love with them! They are pretty comfy too! Also thanks babe for putting together all 6 of them. *dramatically blows kiss* 

I went to an antique store after work on Tuesday and I found SO many little items that were perfect for what I was going for in this room. 

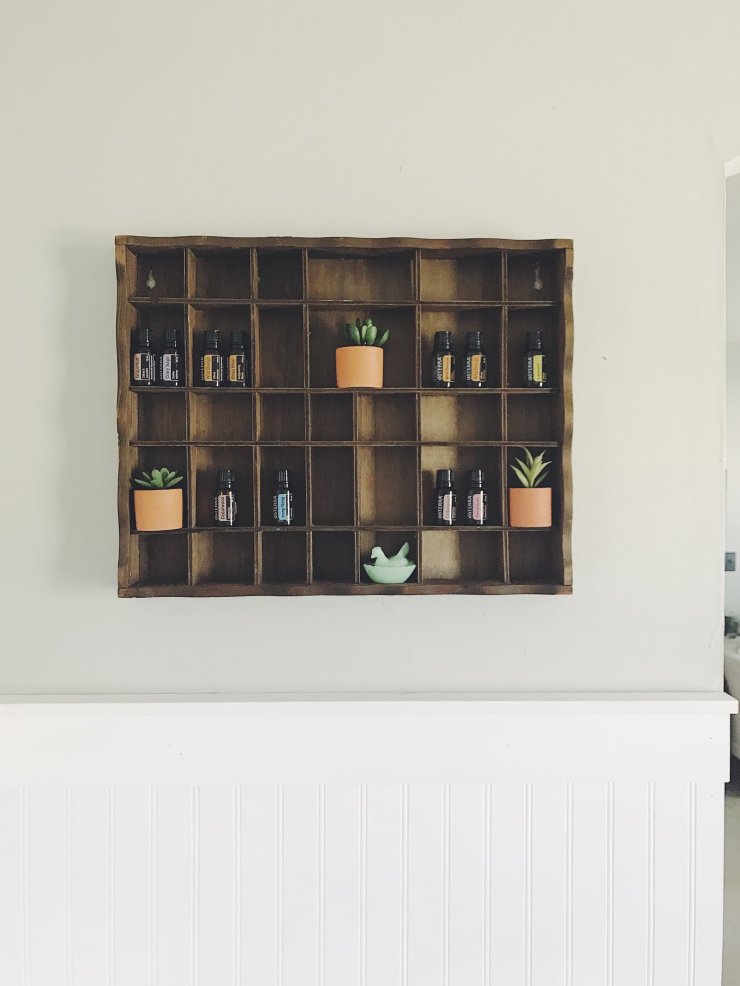
I love this little knick knack shelf I found to display oils and succulents.

I also found the 1920’s mirror that’s in the pictures above and I’m obsessed with it. 

I hung my all time favorite drop cloth curtains and it’s amazing how curtains just finish off a room perfectly. I want to add these to our front den too.

I got these plants and hangers from IKEA.

And this is my favorite accessory to my table, my three little loves. Aren’t they pretty?! As long as they are around my table, this room is complete. 

$2 Lamp Make-Over

$2 Lamp makeover

So this whole “being thrifty” thing is somewhat new to me. I’ll be honest and say that I wasn’t raised in a way that I needed to think creatively when it came to how I spent money. I’ve always been cheap…but that doesn’t mean I knew how to stretch my dollar. I just didn’t want to spend it in the first place (ha).

But when Chris and I got married I had to learn to maximize the money he was working so hard for and it has been challenging in some ways, but a lot of fun in other ways.

I used to walk into thrift stores and my nose would crinkle. The smell. The dirt. The stained upholstery. The only potential I saw in that place was for Germ-X to make a killing.

But one day I was skimming through and I actually saw something I liked. FOR CHEAP. And I was hooked.

(I am still a snob about fabrics and clothing. I may get there eventually, but for now I buy surfaces that I can sanitize the heck out of!)

$2 lamp makeover

So with that long introduction, I am super excited to share my $2 lamp make-over!

$2 lamp makeover

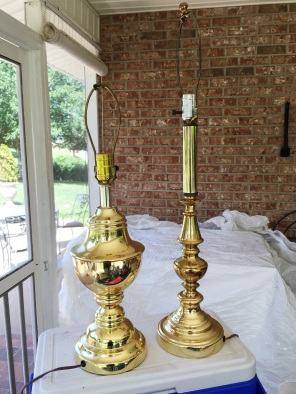
When I saw these two brass beauties, my first reaction was to gag a little and bust them with a hammer. Not even kidding. I hate brass. But I tried to see the potential and found several “shapes” that I liked, and that determined which lamps I bought.

They were also having a 50% off sale. SCORE. So I was able to get both of these lamps for $4.

The re-do on these bad boys was super easy, but I’ll break it down in steps so it will be easy to find if you decide to do your own.

Step 1:

Wipe down lamp with wet cloth and let them dry.

Step 2: 

If you don’t want to paint your cord (I painted mine because they were also a brass color), then i would tape off the cord at the base of the lamp, and then also tape off the area where the bulb will go.

Step 3:

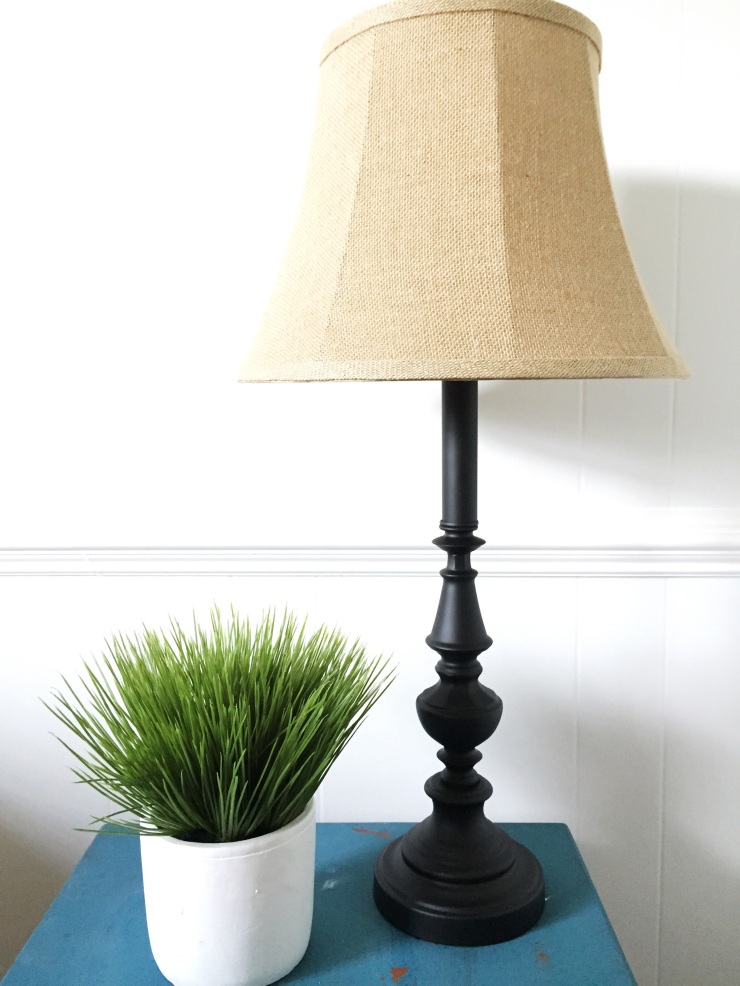
Paint!! I used Rust-Oleum Professional High Performance Enamel in a flat black color. This stuff is amazing and creates such a beautiful finish. It doesn’t look like paint, it looks like its actually black metal. I used it on my dining room fixture and my kitchen knobs as well. So this was a can i had left over from another project, but it runs around $6 a can.

Step 4: 

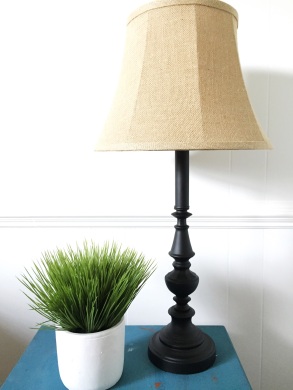
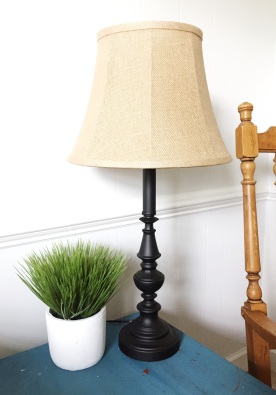
Let is dry and then touch up any spots that were missed. Find a lamp shade you love and BAM you’ve got a beautiful and affordable lamp!

$2 lamp makeover

Note: The most expensive part of this project was the lamp shade. I got mine at Wal-Mart for $15.97. That kinda killed me a little bit. But I have yet to find a nice lamp of this size for under $25 even at HomeGoods or TJ Maxx. So the entire cost of this lamp was $18. I’ll take that any day. 😉


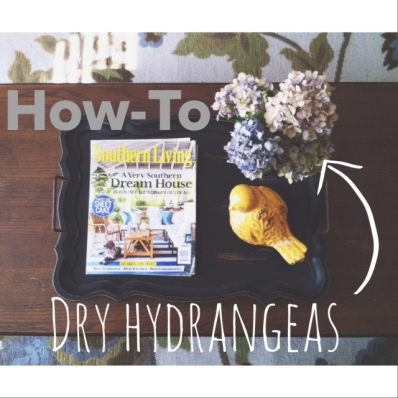
How To Dry Your Own Hydrangeas

image-14

Now this may be a no-brainer to a lot of you crafty people out there. But for me, I have to have my hand held every step of the do-it-yourself-way, so I thought I’d share anyway!

After all, someone had to tell me how to do this for the first time, so I am passing the baton. (ha)

Hydrangeas scream Southern. During the summer months they can be found in practically every front yard below the Mason-Dixon line. There are so many beautiful variations and colors. I just love them.

image-13
Hydrangeas I saved from our first little house.

They hold sentimental value for me as well. My Granny used to always have baby blue Hydrangeas in her front yard and my older sister used them as her wedding bouquet in remembrance of Granny after she passed away. SO precious.

So yes. These flowers are wonderful! And I was so excited when I was taught how to preserve them all year long by drying them. They add a splash of color to any table top or little nook and plus they are free! (Yet another bonus from these flowers. I’m beginning to think they have magical powers!)

So with that said, let’s get down to business!

How to dry your own Hydrangeas:

1. Pick several blossoms. (unblemished of course)

2. Tape several of the stems together at the ends. This seals them and you can easily hang them from the ends with the tape.

3. Find a dark closet or cabinet and hang them upside down inside. Leave them for about two weeks.

4. Display and enjoy!

Hydrangeas are the only flowers I’ve had any success with when it comes to drying. When I dry roses they always crumble and fall apart.

Any tips for drying other flowers? Have you dried Hydrangeas before?